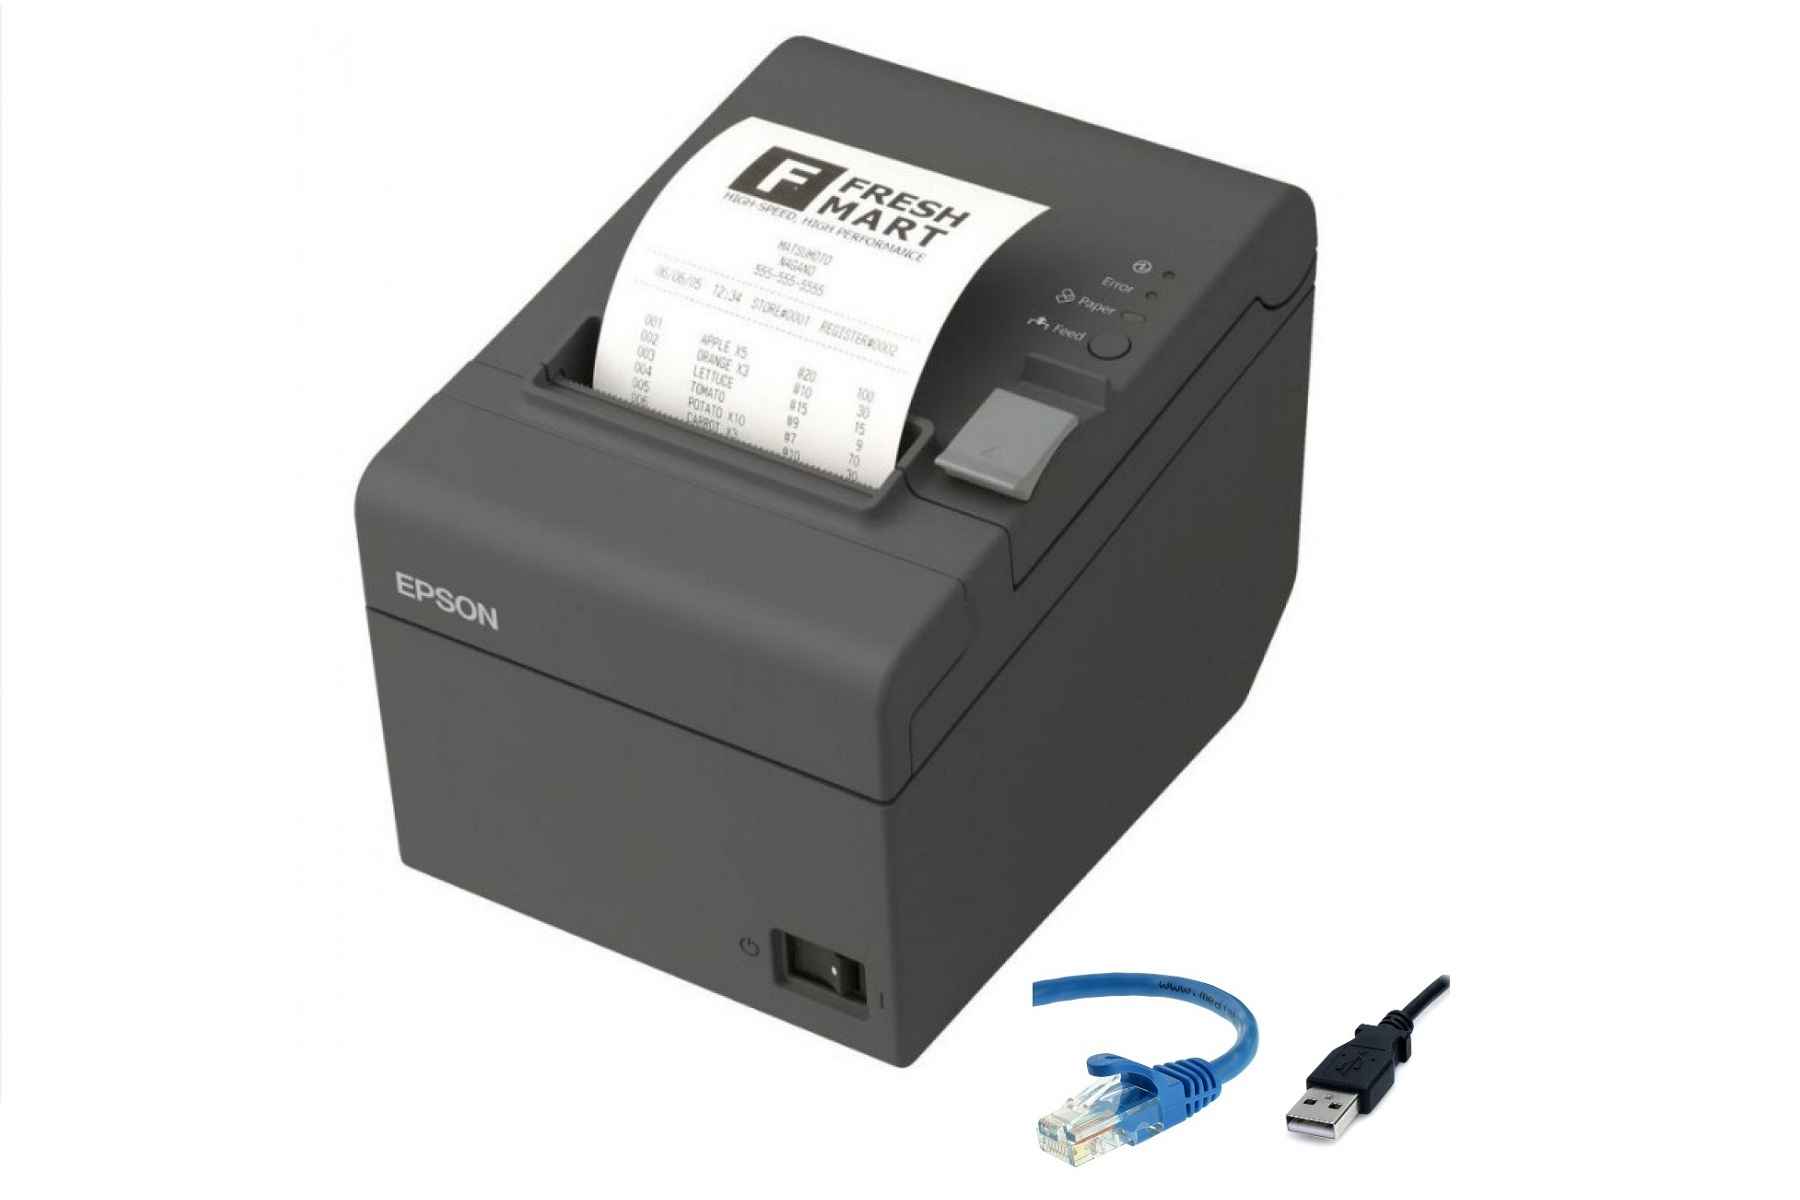
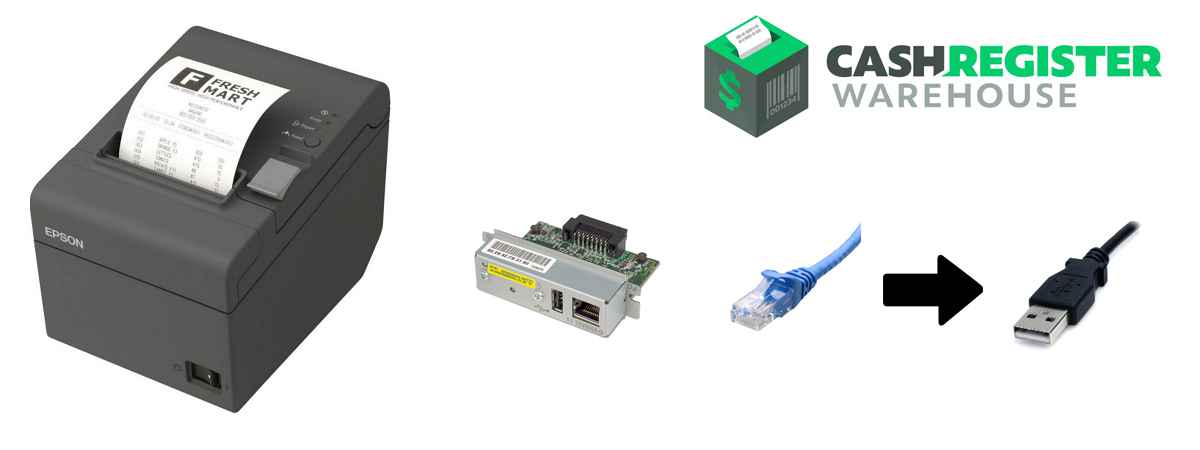
Instructions on how to change from Ethernet to USB Interface on the Epson TM-T82II Dual Interface POS Receipt Printer.

The new Epson TM-T82II (C31CD52347) Receipt Printer comes with a dual interface which includes both Ethernet & USB.
Out of the box, the printer is set to Ethernet. If you wish to change from Ethernet Interface to USB Interface, you will have to carry out a set of steps.
Here is what you need to do:
- Turn the Printer off at the switch on the printer unit.
- While holding down the Feed Button, turn the power switch back on.
- Wait for the self test to printer
- Press & hold down the feed button for 3 Seconds until it does a short printer, then release
- Press the feed button 3 times then press again for a 4th time but hold until it prints, once it prints, release the feed button
- Press the feed button 17 times then press again for the 18th time but hold until it prints, once it prints, release the feed button
- Press the feed button 2 times then press again for the 3rd time but hold until it prints, once it prints, release the feed button. This time it will printer a short and a long print out.
- Turn the printer off at the switch at the front and then turn it back on again.
This should now have the USB Interface enabled. You will require a USB A to USB B Cable which is NOT included in the box.
Before connecting your printer to your PC or MAC, we recommend installing the drivers first, then when prompted from the installation (on windows) you can turn the receipt printer on. You will hear the sounds that indicate a USB device has been connected and if this is the case, you have completed the interface setting correctly.
You will also be able to see the setting options that are being changed during the process and they will make sense as you read the selections we have indicated from the steps.
Interface for Epson TM-T82II from Ethernet (LAN) to USB


