Setting Up, Enabling & Pairing your Uber Eats Bluetooth printer with the Uber Eats App or Android device with these step by step instructions.
Enable printing in your Uber Eats app
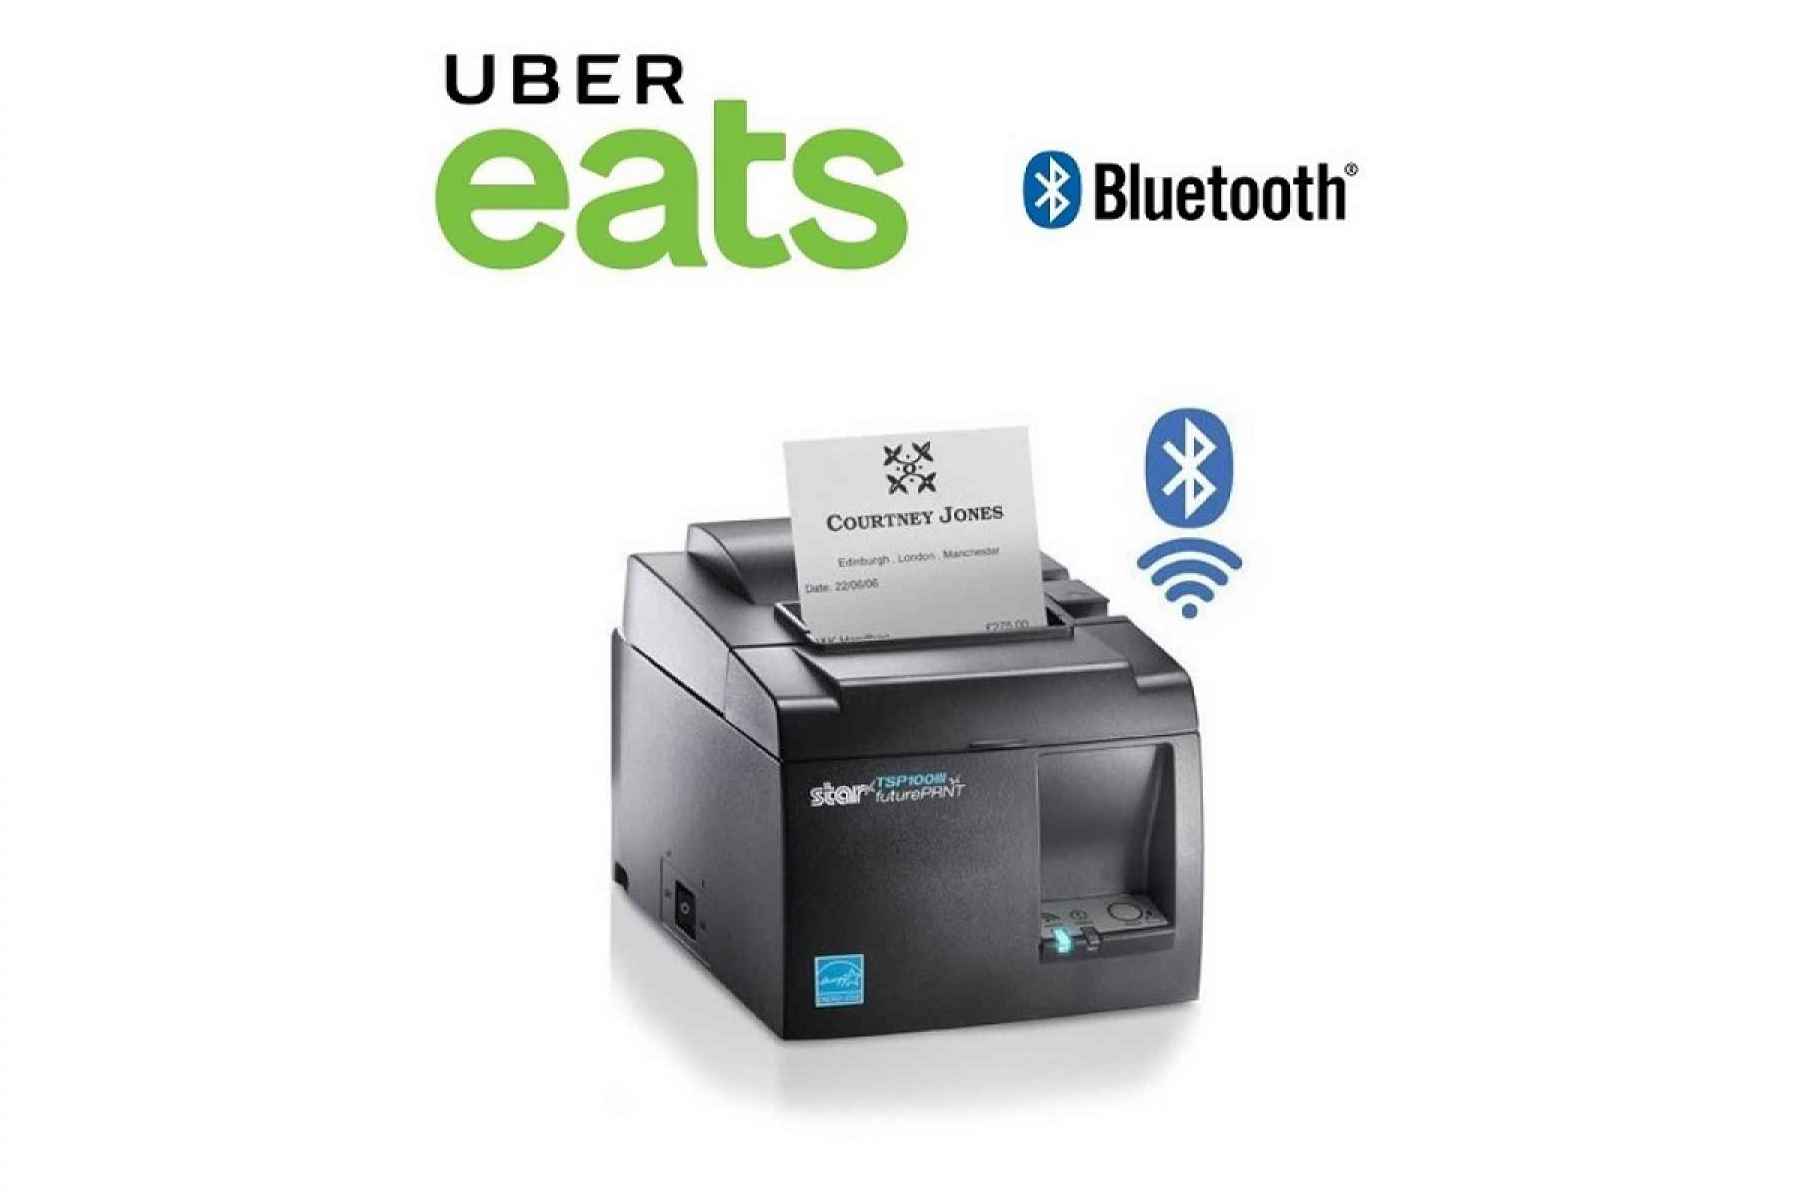
The Uber Eats restaurant dashboard supports the Star Micronics TSP143IIIBI, TSP654IIBI & Epson TM-M30II Bluetooth receipt printers. If you have one of those models, you can enable receipt printing in the Settings section of the restaurant dashboard.
To enable receipt printing, pair your device with your receipt printer per your manufacturer's instructions. Please note the pair button is red and located at the back of the printer.
Once your device is paired with the printer, please go to the Settings section of your Uber Eats dashboard and toggle on the Enabled option.
1. Click the question mark (?) in the bottom right corner of the screen.
2. Tap on "SETTINGS."
3. Tap "RECEIPT PRINTING."
4. Tap the slider to enable receipt printing.
5. If your printer is paired with your device, the printer model will be automatically selected. If you have multiple Bluetooth devices, you may have to select the printer model from the dropdown menu.
6. Once a printer is enabled, you can tap "TEST PRINT" to ensure that the printer is properly paired with your restaurant dashboard.
Source: help.uber.com/
Pairing your Star Micronics printer via bluetooth on iPad
1. Make sure that Bluetooth has been enabled on the iPad by going to "SETTINGS" and making sure that Bluetooth is ON.
2. Turn on the printer by toggling the power switch.
3. Reach behind the printer to access the "PAIR" button. Press and hold the "PAIR" button for about 5 seconds, and you should see the LED light start flashing green.
4. On the iPad, look for the printer in the Bluetooth Devices list. The name is: "Star Micronics." Tap on the name and the iPad should pair.
5. To confirm successful pairing, you should see that the printer is "Connected" in the Bluetooth Devices list.Â
Source: help.uber.com/
Enable printing on an Android Device
If the restaurant has an Uber receipt printer, they may follow the below steps to set up printing on Android:
1. First, pair the printer with your tablet.
2. Make sure that Bluetooth has been enabled on the device by going to "SETTINGS" and making sure that Bluetooth is ON.
3. Turn on the printer by toggling the power switch.
4. Reach behind the printer to access the PAIR button. Press and hold the "PAIR" button for about 5 seconds, and you should see the LED light start flashing green.
5. On the device, look for the printer in the Available Bluetooth Devices list in the "SETTINGS" app. Tap on the printer when it comes up, and the devices should pair.
6. To confirm successful pairing, you should see that the printer is "Connected" in the Bluetooth Devices list.
7. Once pairing is complete, navigate to the Uber Eats app.
8. Navigate to the "Settings" section of your Uber Eats dashboard through the menu at the top left of the screen, and toggle on the Enabled option for "RECEIPT PRINTING."
9. If the receipt printer model is not displayed, tap "Search For Printer" and wait for up to 10 seconds for the receipt printer to be located. Otherwise, tap "TEST PRINT" to verify that everything is setup properly.
10. On the dashboard, you will now be able to print an order by tapping on the print icon for an individual order.
Source: help.uber.com/
Where to buy an Uber Eats Printer?
If you are located within Australia, you can purchase an Uber Eats Printer directly from Cash Register Warehouse.
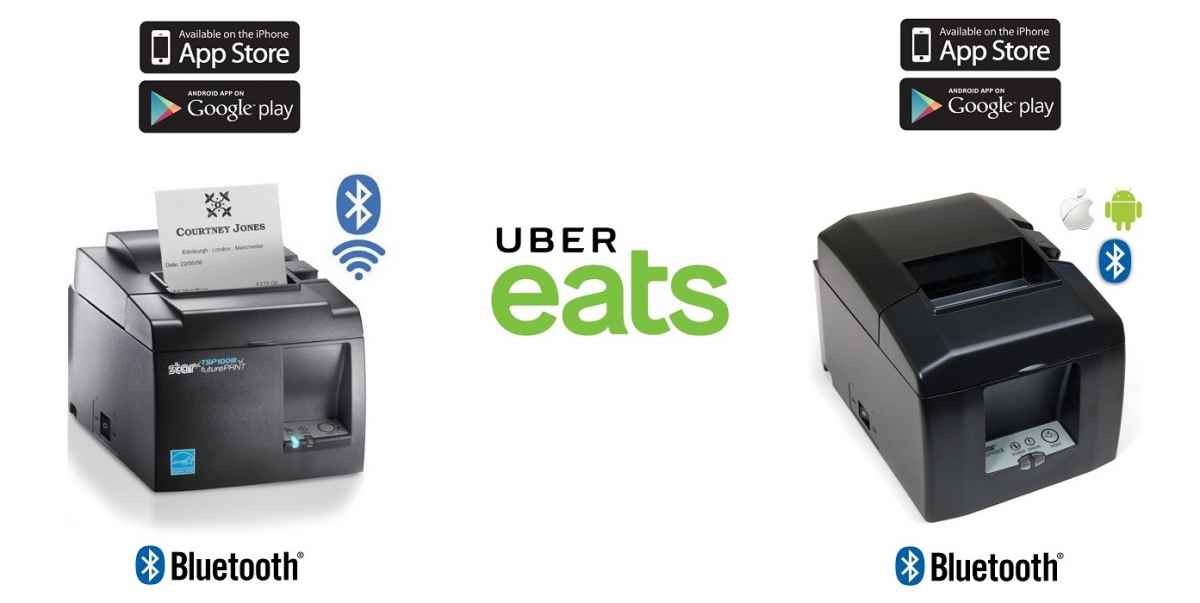
We have three printer models available which are the Star Micronics TSP143III Bluetooth, Star Micronics TSP654II Bluetooth Receipt Printer & Epson TM-M30 Bluetooth Printer. These models are compatible with iPad & Android.
There are four main differences between the Star Micronics model.
1. The TSP143III has an inbuilt Power Supply & the TSP654II has an External Power Supply. If the power supply fails and needs replacing, it is much easier to do so with the TSP654II.
2. The TSP143III prints at 250mm/second & the TSP654II prints at 300mm/second.
3. The TSP143III has an Auto Decurl Feature - No more curled receipts falling off the counter. Star’s new “decurl†features literally flattens the receipt before delivery.
4. The TSP143III has a USB Charging port which you can plug your tablet into and keep it fully charged.
You can check out both Receipt Printers on the below link:Â
www.cashregisterwarehouse.com.au/receipt-printers/ubereats-receipt-printers
< Back to blog